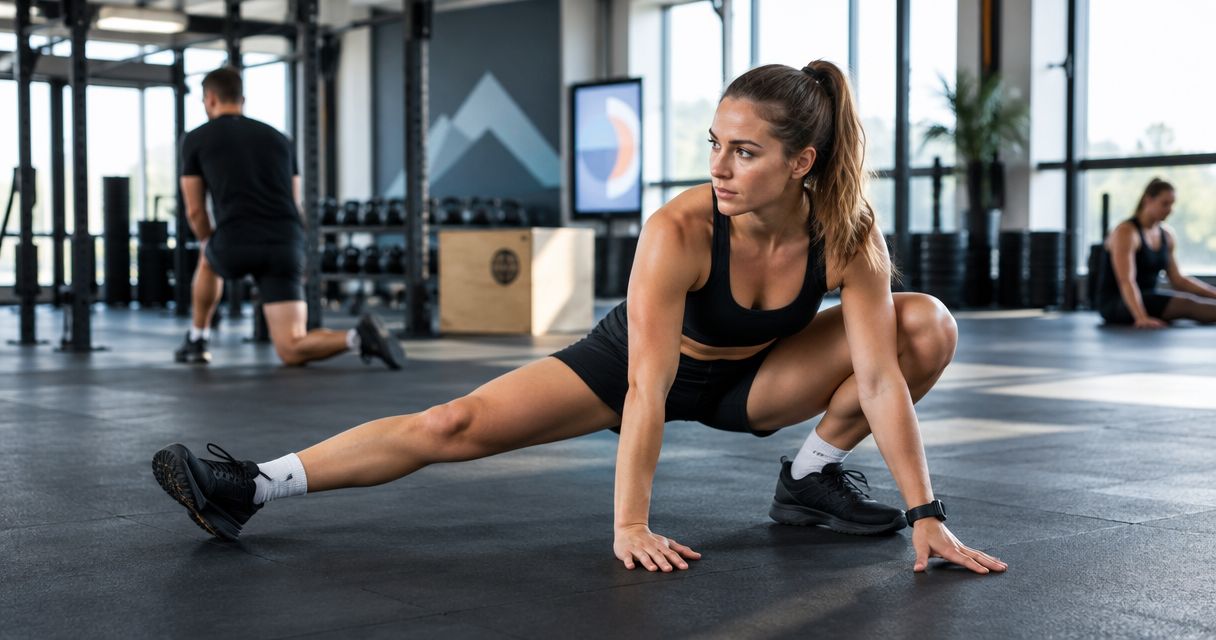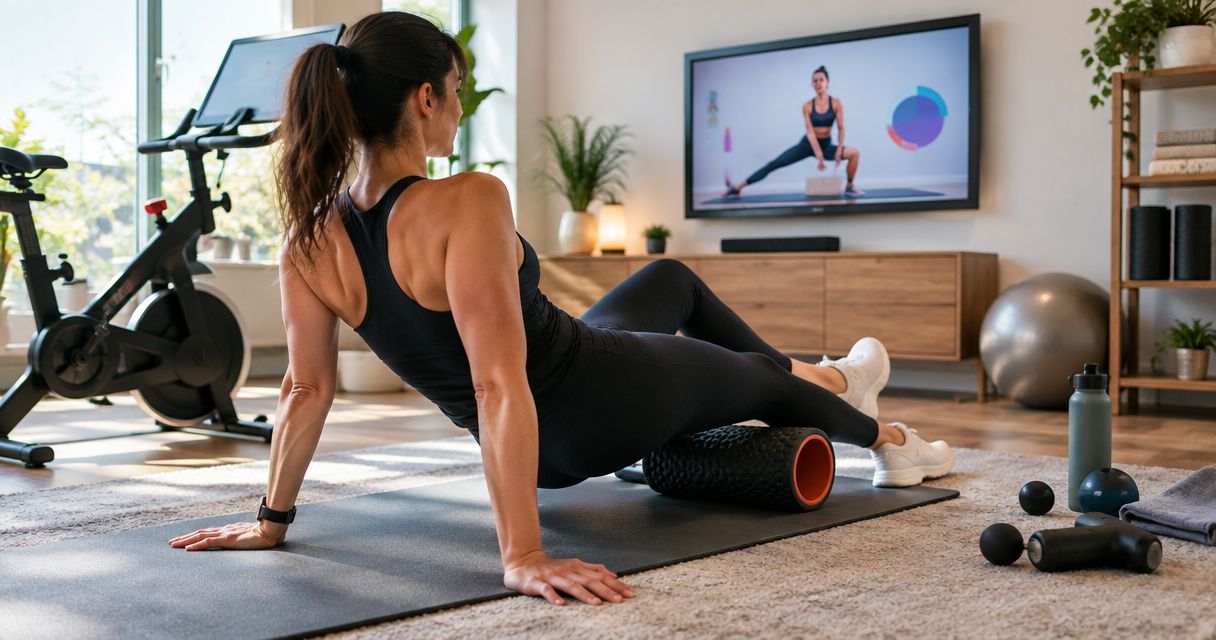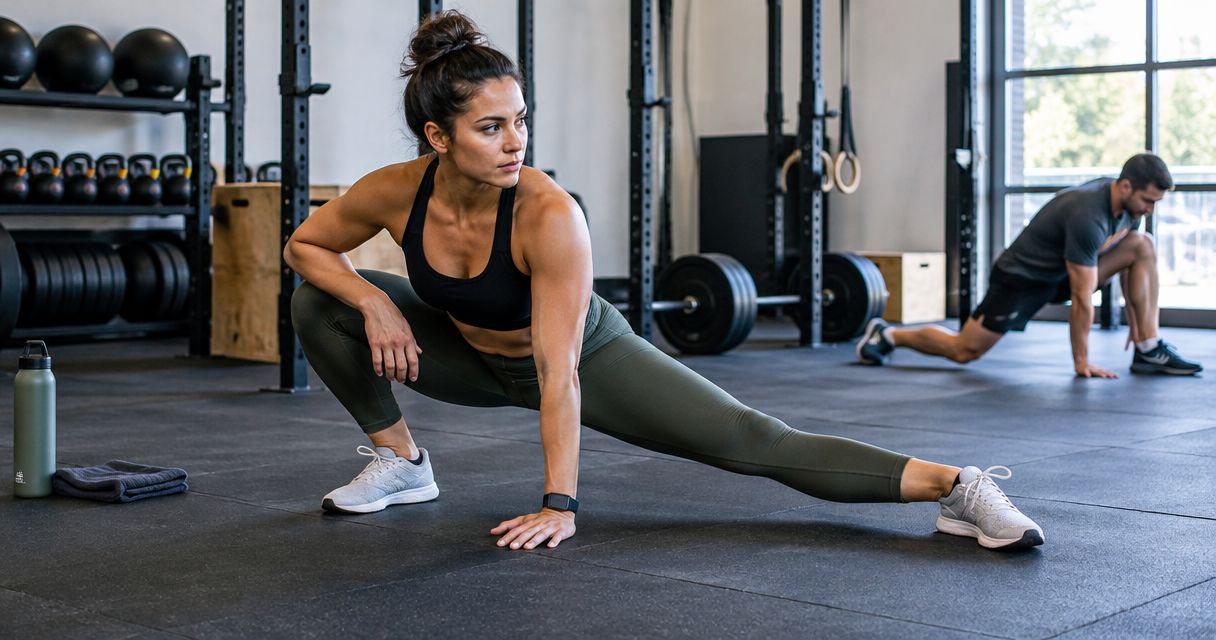
CrossFit athletes’ mobility training is controlled joint-range practice aimed at improving the positions you use in lifting, gymnastics, and conditioning. This 2026 guide shows you how to assess those positions, choose useful drills, and build a repeatable routine without turning every stiff session into a stretching marathon.
- Mobility training for CrossFit athletes should connect ankle, hip, and shoulder work to controlled workout positions.
- Pliability is best for athletes who want daily, video-guided mobility and stretching routines.
- Use movement checks to choose drills; retest the same position before adding more exercises.
- Separate workout preparation from longer stretching sessions, and never force painful range.
Why mobility training matters for CrossFit athletes
CrossFit asks you to move between very different positions: a deep squat, a front rack, an overhead lockout, and a hanging position. Being comfortable in one does not establish control in the others. Your mobility work needs to match the position you actually struggle to reach.
A front squat that tips forward does not automatically mean your hips need stretching. Ankle movement, rack position, load, balance, and technique all deserve attention. Start with the movement problem, not a favorite stretch.
If you want guided support, compare the best mobility apps for CrossFit athletes after identifying your training needs. An exercise library is useful only when you know what you want it to help you practice.
Mobility also differs from flexibility. Flexibility describes available range; mobility includes your ability to control movement through that range. For CrossFit, the useful question is not simply whether you can reach a position, but whether you can use it without losing the movement’s intended shape.
Build your 2026 mobility training plan
1. Check the positions your workouts require
Start without equipment or an app. Watch an unloaded squat, a comfortable overhead reach, and a light front-rack position. Move slowly enough to notice where your heels lift, your balance changes, or your back starts doing work you intended elsewhere.
These are movement observations, not diagnostic tests. A restricted-looking position does not identify a particular tissue or prove that stretching is the solution. Compare the movement with your coach’s technical expectations before deciding what to change.
Keep the setup consistent. A comparison means little if you change footwear, stance, load, and camera angle together. Record what happened rather than labeling yourself as having bad mobility.
- Film your squat from the side and front.
- Check overhead reach without deliberately arching your lower back.
- Observe your front rack with a light implement.
- Note discomfort separately from stiffness.
- Choose one position to address first.
2. Match one drill to one movement problem
Choose a drill you can perform comfortably, then repeat the movement check. For limited ankle travel during a squat, try gentle knee-over-toe ankle rocks with your heel grounded. For overhead difficulty, try a controlled wall slide without forcing your ribs upward.
Use this sequence: Check position, Choose drill, Retest movement, Record response. The purpose is to learn whether a drill helps you practice the target position, not to prove that you have permanently changed your mobility in one session.
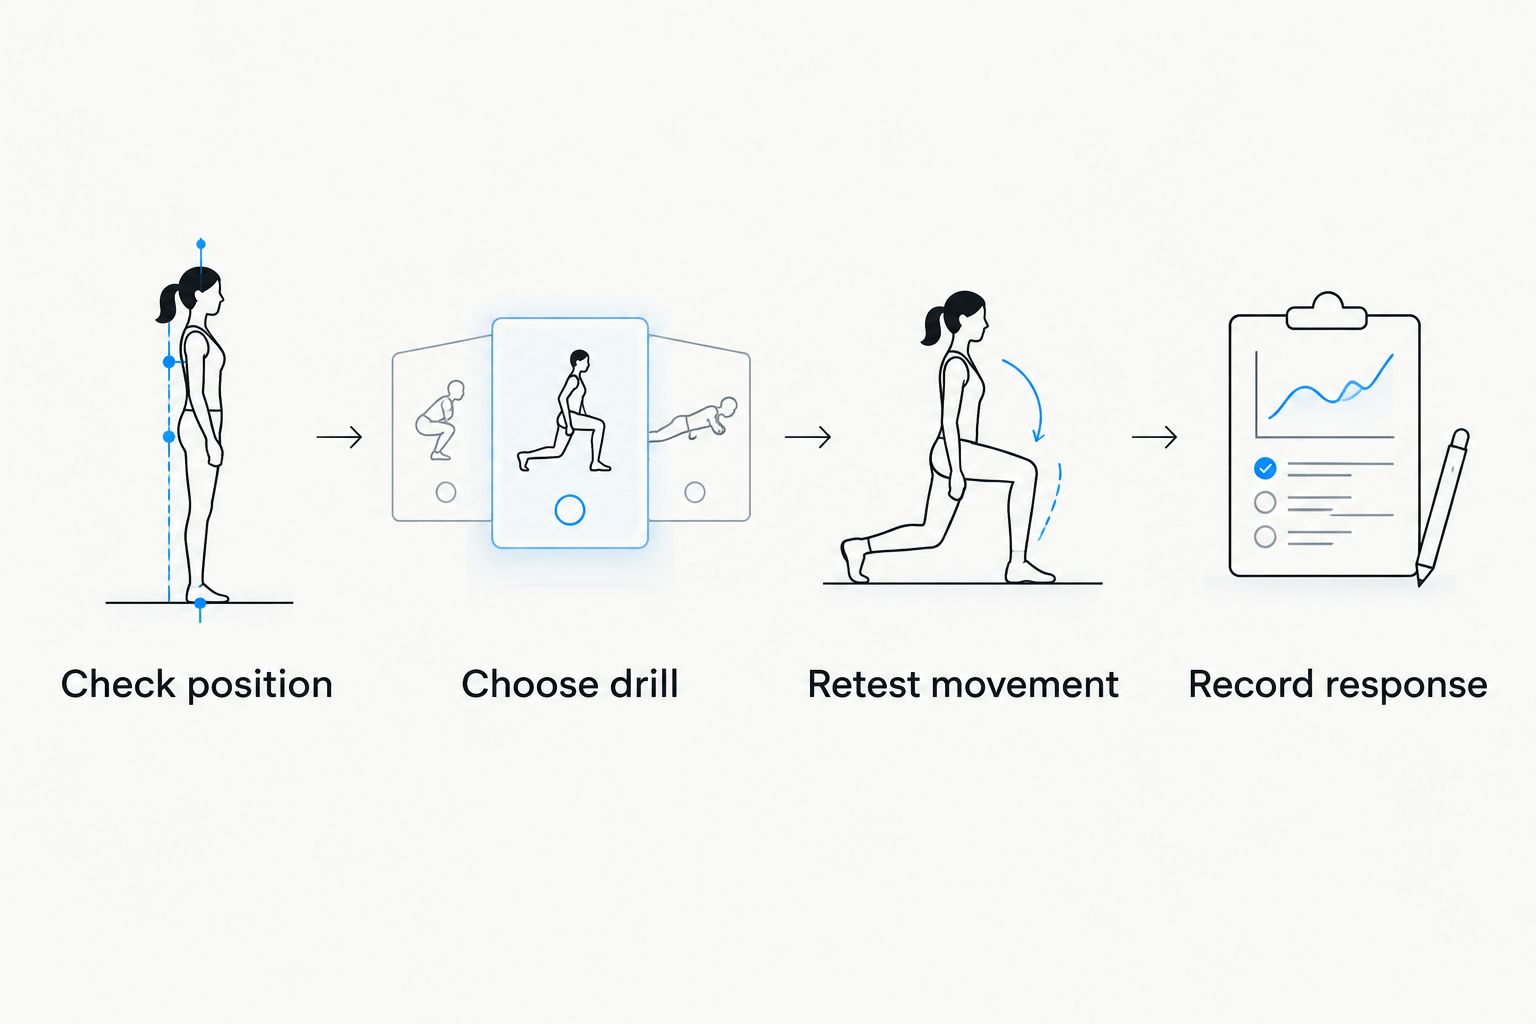
A useful drill has a clear job. If you cannot explain which position it supports, leave it out until you can. More exercises do not make the plan more specific.
- Use ankle rocks to explore comfortable forward knee travel.
- Use supported squats to practice balance through your available depth.
- Use wall slides to practice controlled arm elevation.
- Retest with the original stance and setup.
- Replace drills that repeatedly aggravate symptoms.
3. Build a routine you can repeat
Write your chosen drills in a training note first. Place them beside an existing habit, such as arriving at the gym or finishing your evening meal. This manual approach keeps the plan simple and makes missed sessions visible.
For a guided alternative, Pliability provides a subscription app with daily mobility, stretching, and recovery video routines. Pliability is best for athletes who want daily, video-guided mobility and stretching routines. The trade-off is straightforward: following a video does not replace individual technique feedback or an assessment of pain.
Start with a manageable practice window rather than a large exercise collection. As a planning example, reserve 5 minutes for your selected drills; that is a scheduling choice, not a guaranteed effective dose. Adjust the work to your training demands and response.
- Attach mobility practice to an existing daily habit.
- Keep your initial exercise list short.
- Set out any equipment before the session.
- Use video guidance if selecting and sequencing drills creates friction.
- Record completion alongside your normal training notes.
4. Prepare for the workout in front of you
Use your warm-up to rehearse the positions and movements coming next. Before squatting, practice ankle travel and progressively loaded squats. Before overhead work, explore comfortable shoulder movement and rehearse the lift with an appropriate light implement.
Do not confuse feeling stretched with being prepared. You still need movement-specific practice and a sensible progression toward working loads. A long stretching session is not a substitute for warming up the actual lift.
For an ankle rock, keep your heel grounded and move your knee forward only through a comfortable range. Use support if balance distracts you from the movement. Stop before pain or a forced end position.
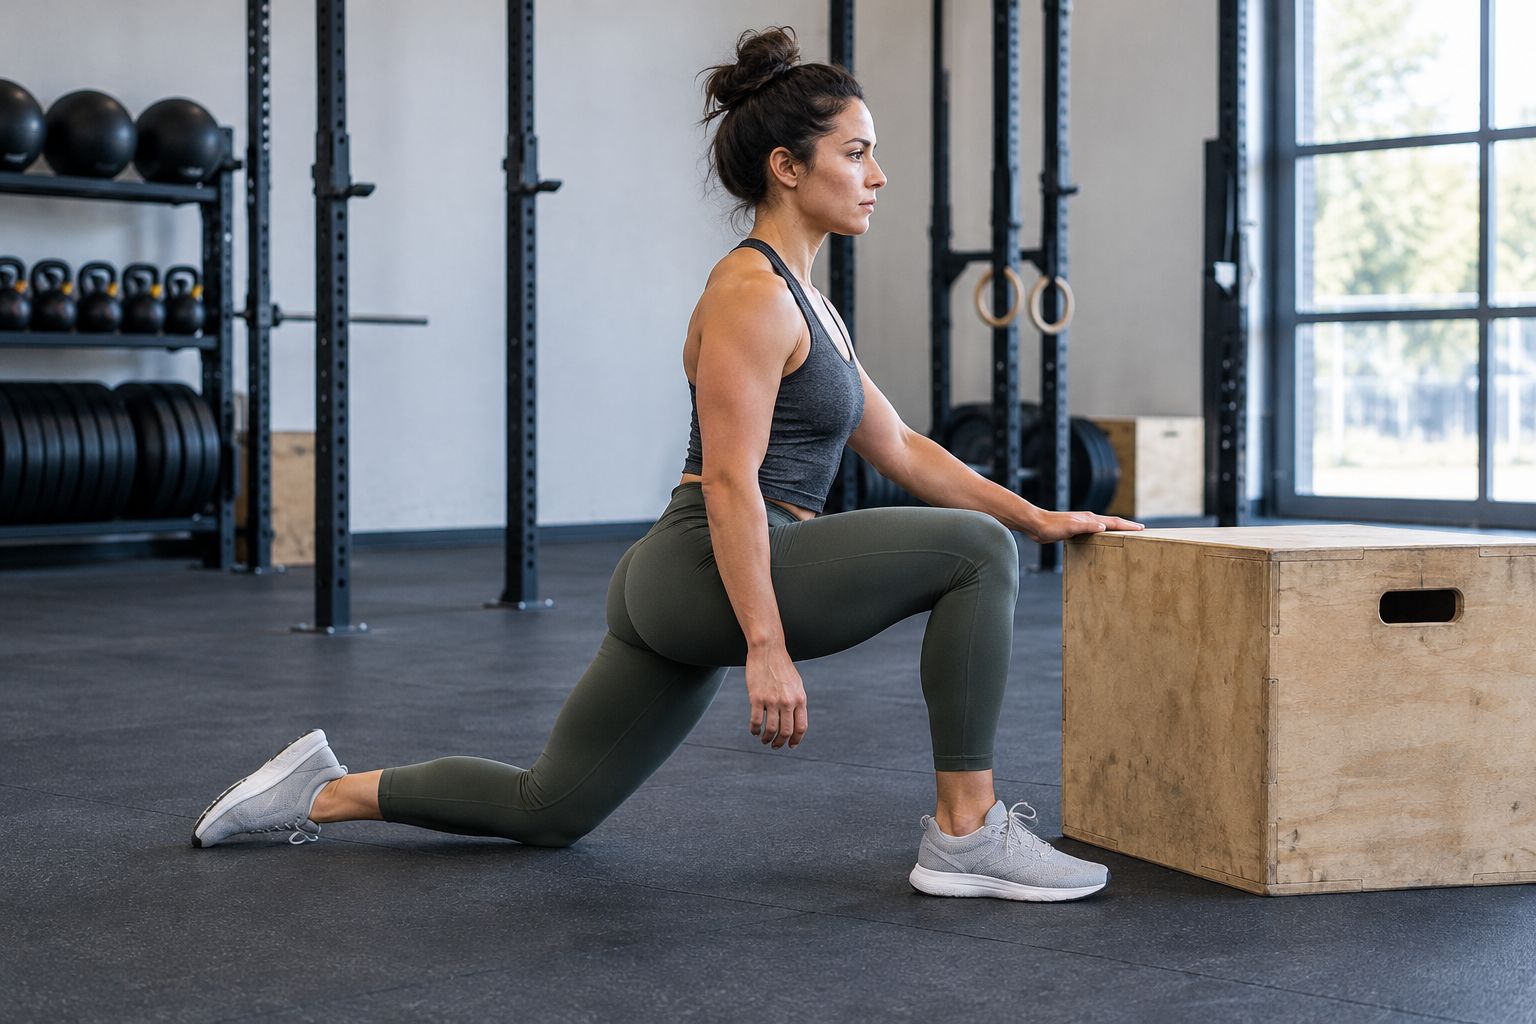
Treat warm-up drills as preparation, not a test of how much discomfort you can tolerate. Your working movement should remain the reference point.
- Match ankle preparation to squat and lunge demands.
- Rehearse a front rack before front-loaded lifts.
- Practice overhead positions before pressing or snatching.
- Progress from unloaded movement to appropriate warm-up loads.
- Scale the workout when you cannot maintain the required position.
5. Train control in the range you have
Once you can access a position comfortably, practice controlling it. Use slow bodyweight movement, light resistance, or support rather than immediately adding speed and fatigue. End-range access and end-range strength are related goals, not interchangeable achievements.
For example, lowering slowly into a supported squat gives you a chance to manage balance and position. A passive squat hold asks something different. Neither earns automatic priority; choose according to the movement you need to improve.
Keep the first attempts deliberately modest. Try 3 controlled repetitions as an observation set, not a prescribed training dose. If control disappears, reduce depth, resistance, or complexity before adding more work.
- Use support when balance limits the exercise.
- Move slowly enough to notice compensation.
- Keep breathing rather than bracing through every drill.
- Add resistance only when the position remains controlled.
- Finish before fatigue changes the movement’s purpose.
6. Separate recovery practice from pain treatment
After training, choose comfortable movement or stretching that suits how you feel. Recovery sessions can provide a quieter place to practice than a rushed pre-workout window. They do not erase excessive training load or replace sleep, food, and appropriate rest.
Pliability’s mobility and recovery videos provide guided practice for this part of your routine. Their limitation remains the same: a general video cannot determine why a shoulder hurts or whether an irritated joint needs a different approach.
Do not treat soreness as proof that you need deeper stretching. Stop exercises that cause sharp pain, numbness, or tingling. Seek qualified assessment for persistent symptoms, symptoms following an injury, or movement problems that interfere with ordinary activity.
- Choose comfortable positions rather than maximal stretch depth.
- Reduce intensity when a drill leaves symptoms worse afterward.
- Keep recovery work separate from punishment for a hard workout.
- Discuss recurring movement limitations with your coach.
- Get clinical guidance for persistent or concerning symptoms.
7. Review movement quality alongside training
Keep your 2026 mobility log focused on useful outcomes: squat balance, front-rack comfort, overhead control, and your response afterward. A longer stretching session is not automatically a better result. Neither is a deeper position reached by changing the test.
Schedule 2 review sessions each week as an organizational example, not a required frequency for improvement. Use the same check and compare like with like. Look for repeatable control rather than a single unusually good attempt.
If a drill changes nothing useful, reconsider its purpose. You might need a different exercise, better lifting instruction, a load adjustment, or professional assessment. Do not respond to every plateau by stretching harder.
- Repeat the original movement check consistently.
- Note comfort, balance, and control separately.
- Record changes in footwear or equipment.
- Keep drills that support the target movement.
- Remove exercises that add time without a clear purpose.
Choose your 2026 mobility support
The best option depends on the problem you need help solving. Self-directed practice suits a clear, comfortable movement goal. Guided routines help with session structure; individualized support addresses questions a general routine cannot answer.
| Option | Best for | Main benefit | Key limitation |
|---|---|---|---|
| Self-directed drills and a training log | Athletes with a clear movement goal | Direct control over exercise selection and tracking | Requires you to select drills and judge your own execution |
| Pliability mobility training app | Athletes wanting daily video-guided practice | Mobility, stretching, and recovery routines in a subscription app | General guidance does not assess individual pain or lifting technique |
| CrossFit coaching | Athletes whose positions change during lifts | Feedback within the movement being trained | Coaching is not a clinical assessment unless the coach is appropriately qualified |
| Qualified clinician | Athletes with persistent pain or injury concerns | Individual assessment and advice within the clinician’s scope | Does not replace regular skill practice and training management |
Choose guidance for the problem, not the longest exercise list. A coach can address a changing bar path; a clinician can assess persistent pain. A routine supports practice, but it cannot answer every question about your body.
Common mistakes CrossFit athletes make
Chasing squat depth at any cost
A deeper squat achieved by losing balance or forcing pain is not the same as better-controlled range. Work within a position you can manage, then discuss stance, loading, and progression with your coach.
Stretching the wrists for every front-rack problem
The front rack involves more than wrist extension. Shoulder position, elbow position, bar placement, and technique also matter. Check the complete rack rather than repeatedly forcing the wrists backward.
Testing mobility only when exhausted
A position that changes late in a workout does not prove you lack passive range. Compare the movement when fresh, then examine load, pacing, and fatigue with your coach. Keep mobility work connected to that distinction.
Treating a recovery routine as permission to ignore pain
A familiar video is not clearance to push through symptoms. Modify the session, stop aggravating movements, and get appropriate help when symptoms persist. Consistency means repeating useful practice, not repeating irritation.
FAQ
What is the best mobility training for CrossFit athletes?
The best mobility training for CrossFit athletes targets a specific workout position and includes controlled practice in the available range. Start with a movement check, choose a relevant drill, and retest without changing the setup.
Is mobility training better than stretching for CrossFit?
Mobility training and stretching serve related but different purposes. Stretching works on available range, while mobility practice also addresses control; CrossFit athletes need to connect that range to the movements they train.
Should I do mobility before or after a CrossFit workout?
Use movement-specific preparation before a CrossFit workout and place longer, comfortable stretching sessions wherever they fit without disrupting training. Neither approach replaces progressive warm-up sets or appropriate recovery habits.
Can Pliability replace a CrossFit coach?
Pliability does not replace a CrossFit coach. The app provides daily mobility, stretching, and recovery video routines, while coaching can provide feedback on your lifting and gymnastics execution.
Why do my heels lift when I squat?
Heels lifting during a squat does not identify one cause by itself. Ankle movement, stance, balance, load, and technique all deserve consideration; compare an unloaded squat with your coach before selecting a corrective drill.
Should I stretch through shoulder pain in an overhead position?
Do not force a painful overhead position. Stop the aggravating drill and seek qualified assessment for persistent pain, symptoms after injury, numbness, or tingling.
How do I know whether my mobility routine is working?
Repeat the same movement check and look for more comfortable, repeatable control. Keep the setup consistent and track how the position behaves in training rather than judging progress only by stretch depth.
One last thing
A deeper position is not automatically a more useful position. If you can reach it only with support, momentum, or a compensation, you still have control to practice. For the rest of 2026, make your training note answer one question: can you use this range in the movement that matters?